ESL Non Web Server
Server Overview
 |
 |
The Opticon ESL Server Software will monitor and control all your ESLs and base stations fully automatically, therefore saving you precious time that can be spent elsewhere.
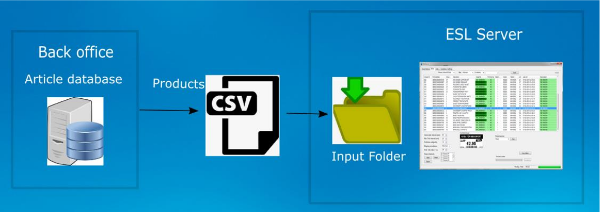
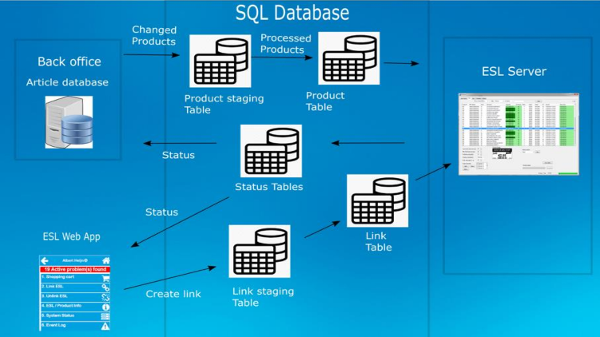
The software will connect the ESLs through a base station to a database for price processing and product changes, this will make sure that all content shown on the displays is up to date. This information exchange is logged and view able for remote monitoring, one way to monitor this remotely is through the web application. This included web application is used for in-store monitoring and linking ESLs to products. Template
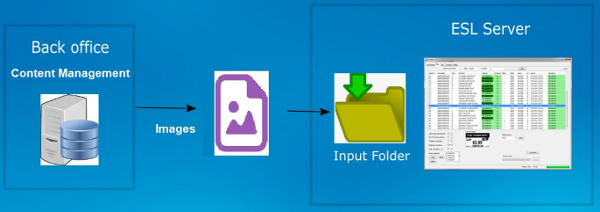
With the graphical template designer you can design customized templates so they fit perfectly in the style of your store, making your store look more high-tech than ever. The ESL Server Software will also automatically generate and distribute all modified images to the ESLs.
Software Solutions
Setup
Setting up the hardware and software
The following pieces of hardware and software that will have to be installed in order to get an ESL demonstration or pilot up and running:
The ESL Server installer containing:
-
- The ESL server application
- Example database files and image templates
- Firmware for the barcode terminal, base station and ESL tags.
- Appload (optional)
- USB drivers for the barcode terminal cradle (optional)
- User manual
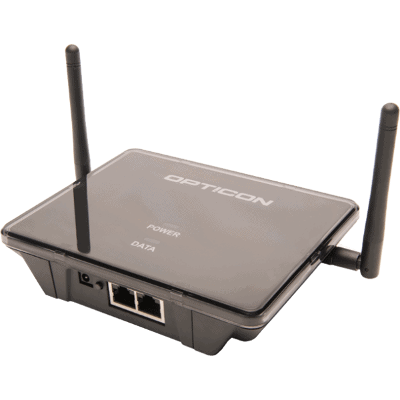
EBS40 Base station that includes:
-
- 6 Volt 2 Amp Power supply
- Ethernet cable
Installing the ESL Server application
To install and run the software you will also need a PC or Server running Windows with .NET Framework 4.61 or higher (Windows 10 recommended)
Before installing the software, make sure you have administrator rights and the PC is fully updated with all Windows updates.
If your PC doesn’t have .NET Framework 4.6.1 (or higher) installed, it will be installed during the installation of the the ESL Server application.
- Run the installer by starting the ‘SetupEslServer.msi’ file.
- Select the components that you wish to install.
If you haven’t installed Appload or the Opticon USB drivers on your PC before, make sure you install those components as well.
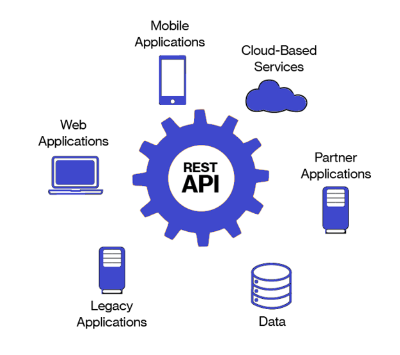
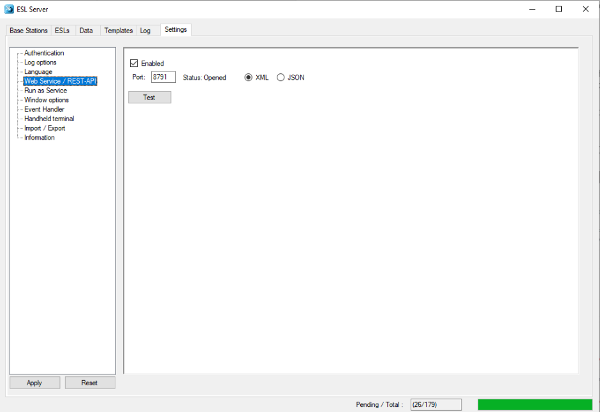
If you wish to use the REST-API make sure you enable the Web Service
If you wish to use the ESL Web application, make sure you enabled the installation of XAMPP (if you haven’t installed Apache or MySQL on your system already)
Installing and finding the EBS-40 Base station
The base station can easily be installed by powering it up, connecting it to the Ethernet with DHCP support and placing it within 10 meters (the actual maximum range is bigger) of your ESLs.
- Plug in power supply to wall outlet and barrel connector to base station
The power LED on top of the EBS-40 should start blinking red. Once the LED turns solid continue.
1. Connect one end of the ethernet cable to either ethernet jack of the base station and the other end to the host computer that has DHCP enabled.
The PC will need to be connected to the same LAN, so it can communicate with the base station.
After starting the application for the first time, no base station will be available to communicate with ESLs.
2. Press the ‘Find’ button on the ‘Base stations-tab to find the connected base station.
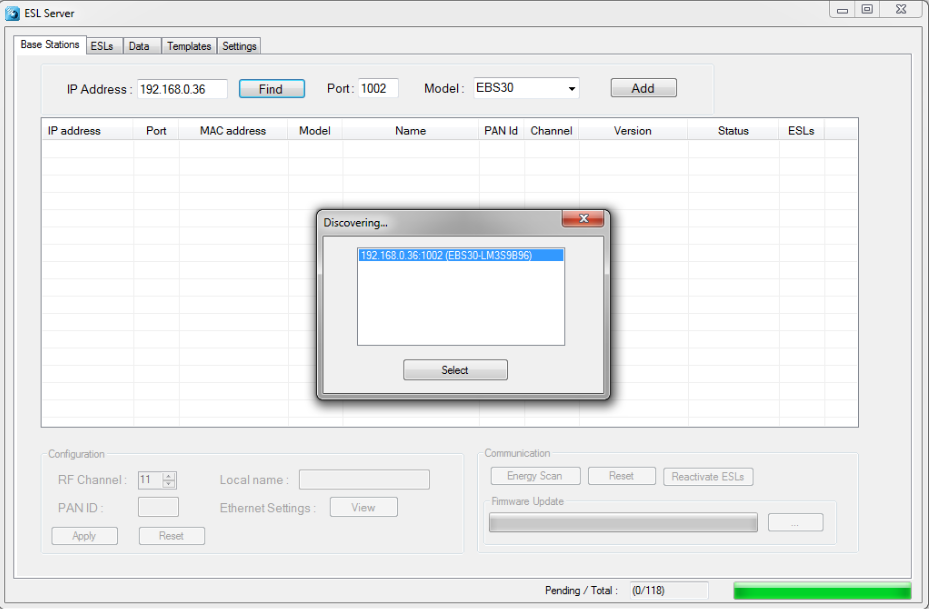
3. Select the discovered base station to add and connect your PC to the base station.
If activated ESLs are nearby, then the ESL count will start incrementing as they start connecting to the base station. However, if the ESLs are still ‘deactivated’, they will first have to be reactivated.
- Note 1: when the base station is connected to the LAN with DHCP the IP address can vary over time, making it necessary to remove the old base station entry by pressing the ‘Delete’-key of your keyboard and discovering the base station again using the ‘find' button. Using static IP leases in the DHCP server can resolve this problem.
- Note 2: when the base station is connected to the LAN without DHCP, the default IP address/subnet mask of the base station is 169.254.19.63 / 255.255.0.0. Configure a PC or laptop on the same subnet to change this using a web browser.
Installing and activating the ESLs
On arrival the ESLs already have their batteries inserted.
However, to allow safe transport by airplane, it is likely that the ESLs will show a 'DEACTIVATED' message in their top left corner. This means the ESLs do not emit any radio signals and won't be searching for base stations at this point.
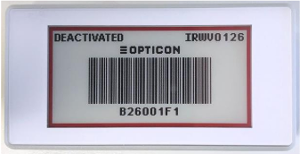
To reactivate these ESLs place them nearby the connected base station and select the base station in the list view of the 'Base stations'-tab. This allows you to press the 'Reactivate ESLs' button in the bottom right corner.
After pressing this button, a dialog will appear showing a progress bar and how many ESLs have been reactivated so far.
Since the ESLs will only wake-up for a split second every few minutes, it can take more than 15 minutes before all ESLs have been successfully reactivated. You can verify this by checking whether the ‘DEACTIVATED’ message has disappeared from the screen.
Active ESL’s will be periodically search for an Opticon base station, so as soon as an Opticon base station is within range, they will associate with it and start sending data requests and status information to it. When a base station is turned off or an ESL is moved out of range, an ESL will time out after a couple of minutes and starts seeking for another base station in range.
See chapter 6.1 for more information about configuring ESLs.
Linking of ESLs to products
Linking of ESLs is the process of telling the system which product should be shown on which ESL. This is usually done by scanning the MAC address bar code on the ESL label followed by scanning (or entering) the unique ID of the product.
The unique ID can be anything: an EAN code, article number, location, room number, etc. As long as it’s a unique identifier in the database, it can be linked to an ESL.
Steps:
There are multiple ways to link an esl tag
Select the ESL tab
-
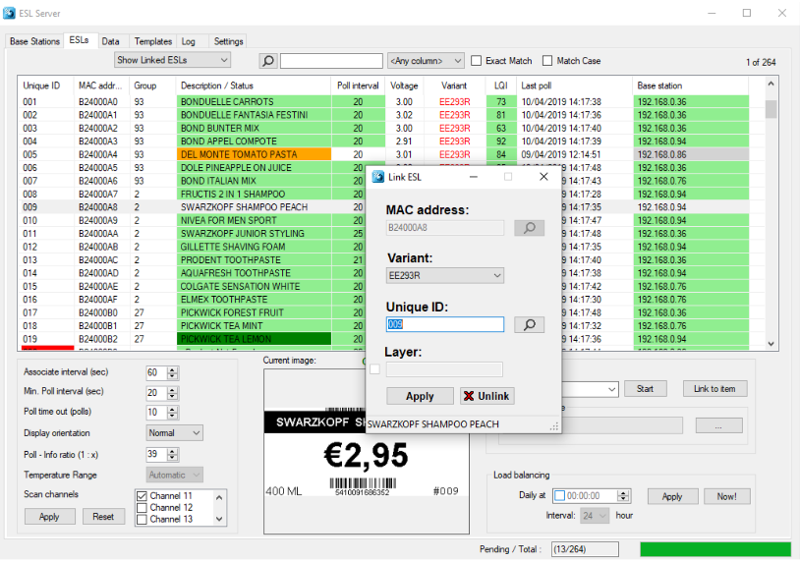
Double click on an ESL
-
Type, scan or find the MAC address of the ESL and the product ID.
-
or
Click on Link to item button on the top right side of the bottom gray panel.
-
Type, scan or find the MAC address of the ESL and the product ID.
-
or
Single click on an ESL and click on drop down section to choose action and select the Link action.
-
Type, scan or find the MAC address of the ESL and the product ID.
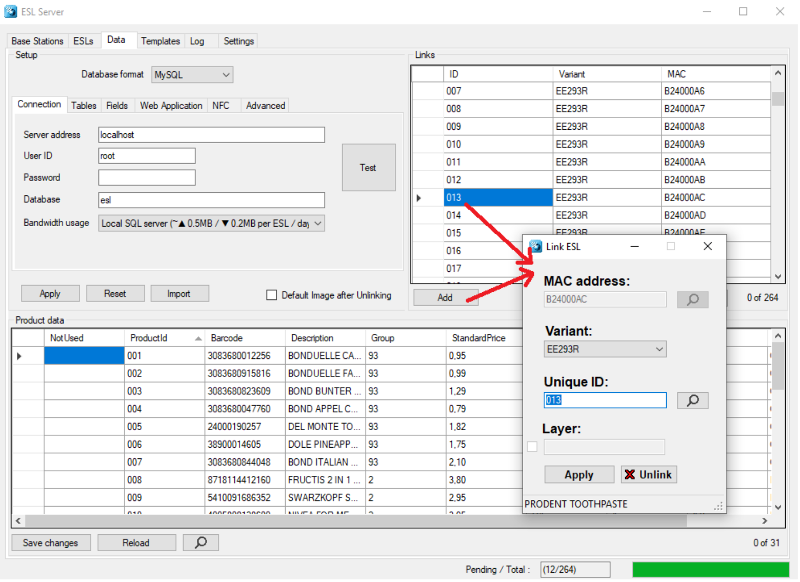
Select the Data tab and press the Add button.
-
Type, scan or find the MAC address of the ESL and the product ID.
Documents
| Name | Details | Type | Version | Download Link |
|---|---|---|---|---|
| User Manual | Contains information on how to setup and use the ESL tags with the ESL Server | v1.0.78.4 | Download | |
| MS-SQL Demo Tutorial | Step by step tutorial that covers setting up a sample MS-SQL database and sample configuration for communicating with the ESL Server software | v1.0 | Download | |
| Sample Tables | Sample table insert statements (CSV, MS-SQL and MySQL) that uses North America based decimal system. | CSV,MS-SQL,MySQL | v1.0 | Download |
Software
| Name | Details | Type | Version | Download Link |
|---|---|---|---|---|
| ESL Server Software | Contains information on how to setup and use the ESL tags with the ESL Server | EXE Installer (Windows 10) | v1.0.78.4 | Download |
